How to paint a room: combinations with marble
03.2022
Learn our tips for painting a room with stones, create a perfect match with marble and get ready for the next project!
How to paint a room: from preparing the room to choosing colour schemes
Changing the colour on the walls of a room is not always merely a matter of necessity.
If you want to give a room a boost of vitality, painting the walls is a great idea. In just a few simple steps you can create a stimulating new environment. But how can we choose paints that harmonise perfectly with marble? And what should we do to prepare the space in the best possible way before painting the house?
In this short guide, we will look at which colours go best with natural stone, the technical steps needed to prepare the space, and the most popular painting styles.
Are you ready? Let’s get started!
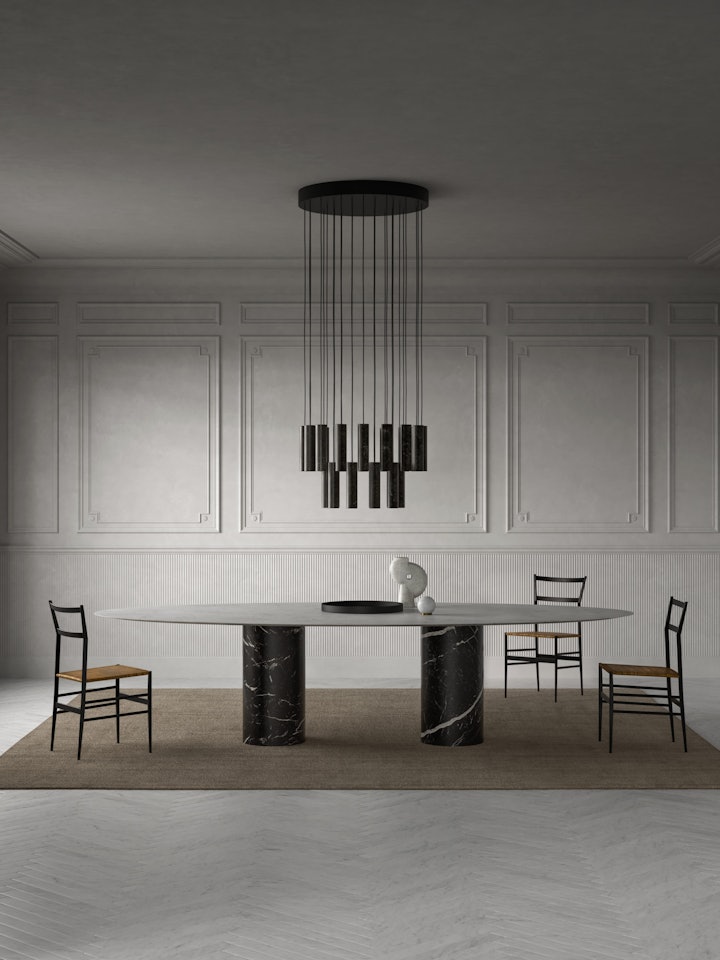
How to paint your home: combinations with marble
As we will see later, a paint suitable for all interiors, apart from those rooms which have particular aspects to correct or improve, is a harmonic one. Creating a tone-on-tone effect gives the room a cohesive and relaxing look.
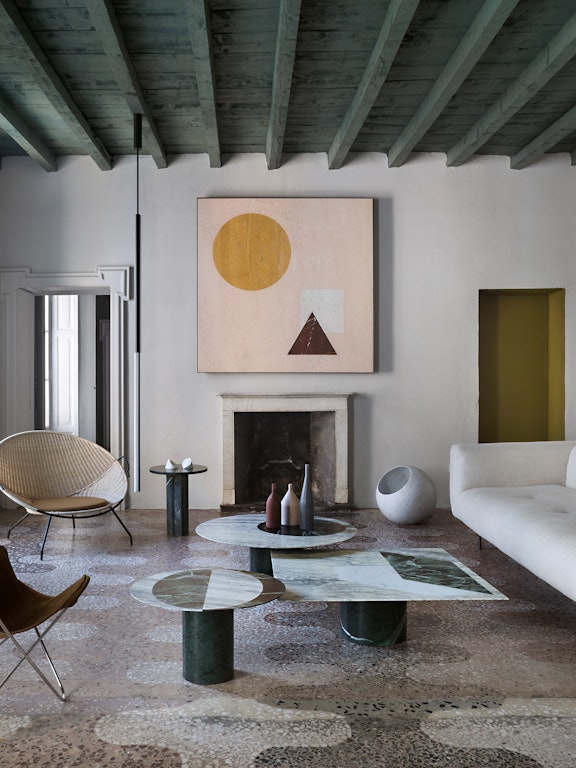
For us at Salvatori, a complete marble look remains unsurpassed, but where it is not possible to achieve this, pairing marble with painted walls can also be effective. However, finding colours that suit floors or even walls clad in natural stone may not be so easy, not least because of the unique patterns that enrich this material.
Let’s see how we can create perfect combinations, using the example of Salvatori’s natural stones.
First, we will divide our marbles into three categories, according to their tones:
- Marbles with cold tones
- Marbles with warm tones
- Marbles with hybrid tones
Let’s start with marbles with cold tones. When it comes to matching walls with fine Carrara White, it is advisable to choose a wall colour that also picks up the deep grey tones of the unmistakable veins of this marble: in this case, therefore, rather than a classic white wall, a very light grey, such as a Tele Grey, is perfect for the combination.
A very similar argument should be made in the case of a combination with a Grigio Versilia marble: its blue notes must also find continuity within the chosen colour. So rather than a dark grey, the choice should be a shade of grey that is a hybrid of the two dominant colours: a combination with a colour similar to the so-called Bluish Grey would be wonderful.
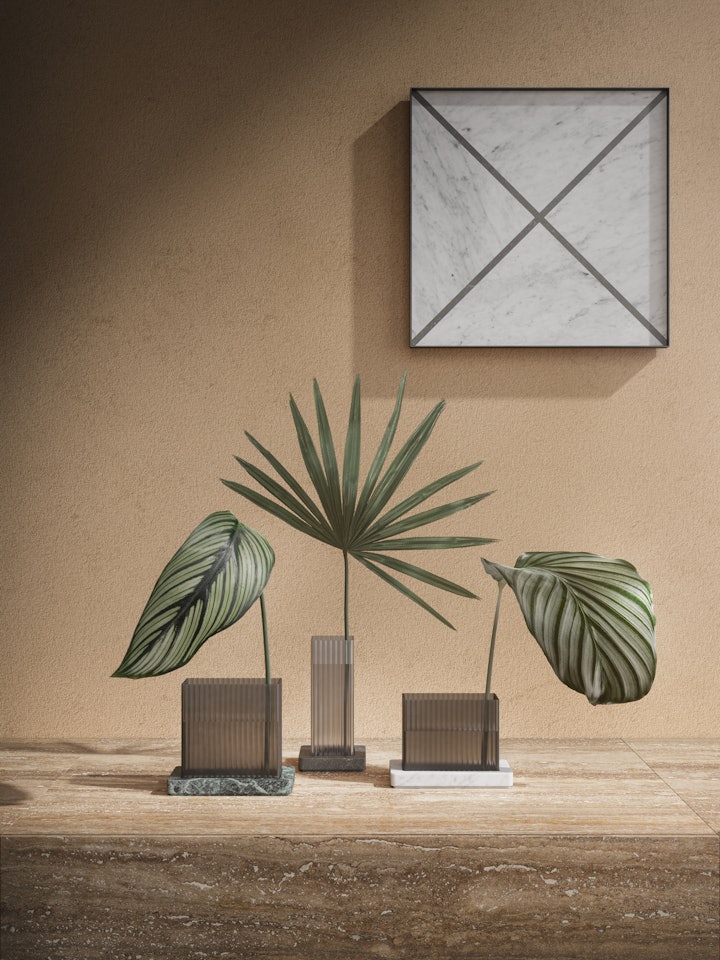
And for warm tones? In the case of a delicate Crema d’Orcia floor, the perfect match for a relaxing and bright ambience is a light beige colour.
For the Travertino Chiaro however, with its more saturated and enveloping tones, we recommend a warmer shade, such as a beautiful cream colour.
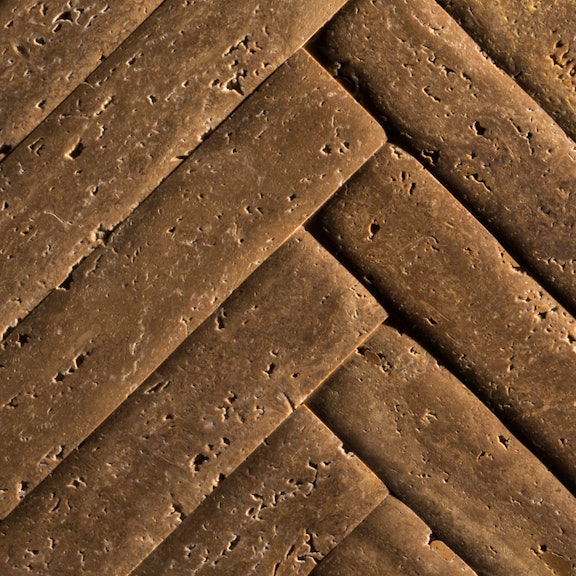
Finally, in the case of a beautiful Stone Parquet in Imperiale, it will be necessary to be more daring to pick up on the deep caramel tones of this material: a very saturated colour, which picks up on the brown tones of the marble is ideal. A paint colour similar to camel is perfect in this instance.
In the case of marbles with hybrid tones, the juxtaposition of paint and marble becomes complicated. These natural stones, due to the variations in their hues and striations can range extensively in their tonal temperature. Consequently, the paint colour chosen must also be a shade that contains within it both warm and cold tones.
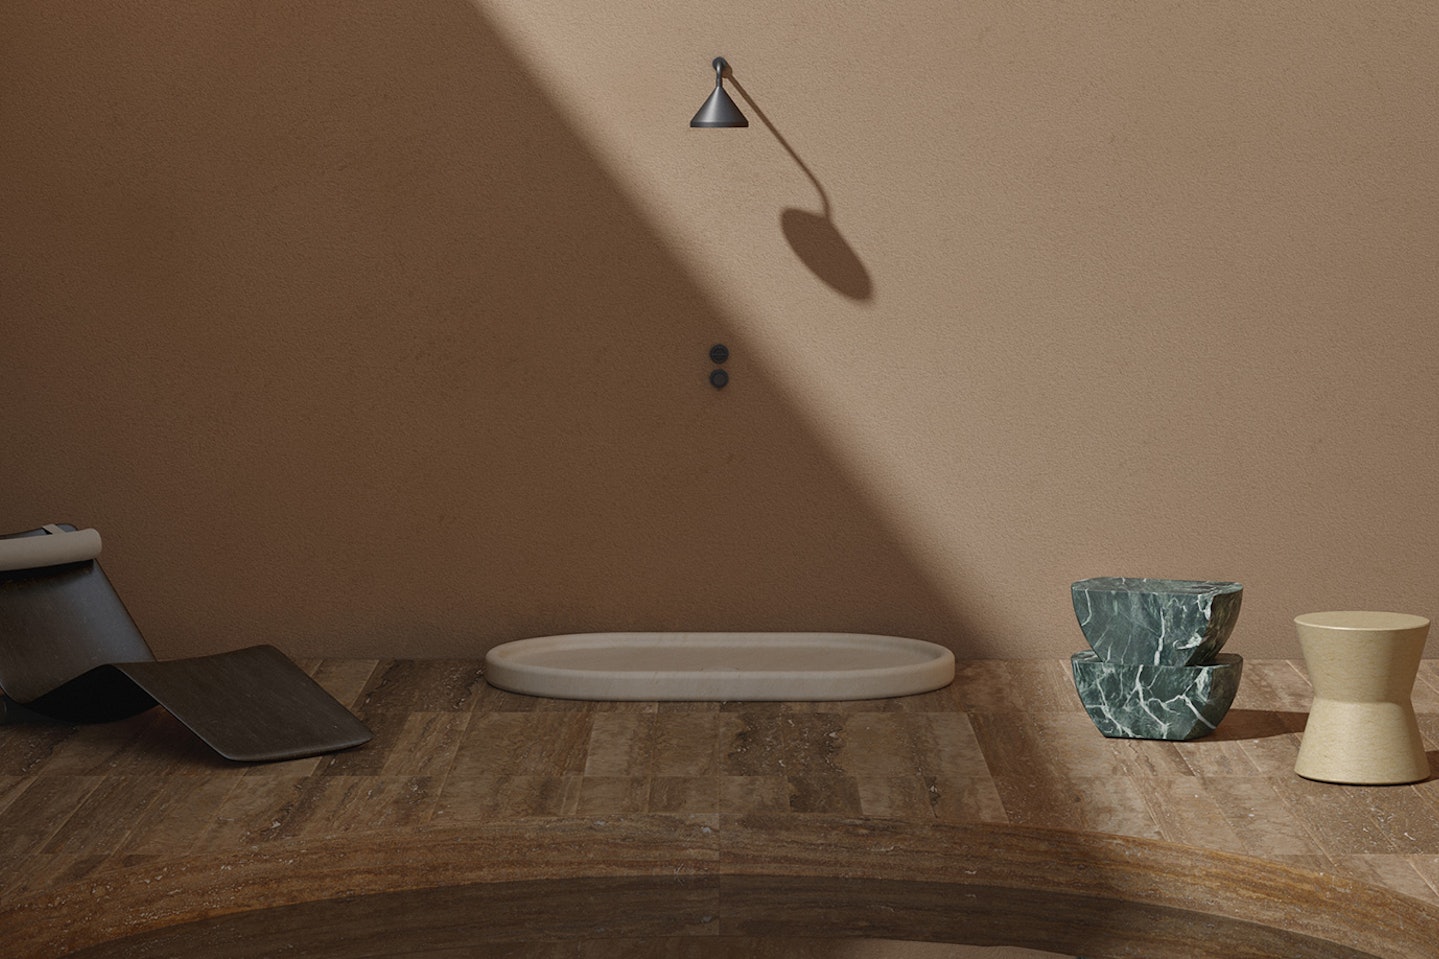
In the case of Silk Georgette® for example, we are dealing with a beige marble with grey streaks. To effectively pick up the colour and create continuity, we recommend a combination with a colour such as light Taupe, also known as “greige”.
For the Gris du Marais®, which has deep grey tones with copper veins, a match with a deep and neutral colour such as Tortora Scuro is excellent.
Last but not least, what to pair with fine Pietra d’Avola? An extremely iridescent material, its notes can vary from grey-brown to black, and it can also have patches of yellow. To achieve a harmonious combination, the choice of a very dark paint that retains a touch of warmth is perfect: for this combination, we recommend dark colours such as Carbone or the so-called Signal Black.
Now that we have seen which colours can be used effectively alongside natural stone, let’s find out what you need to do before you start painting.
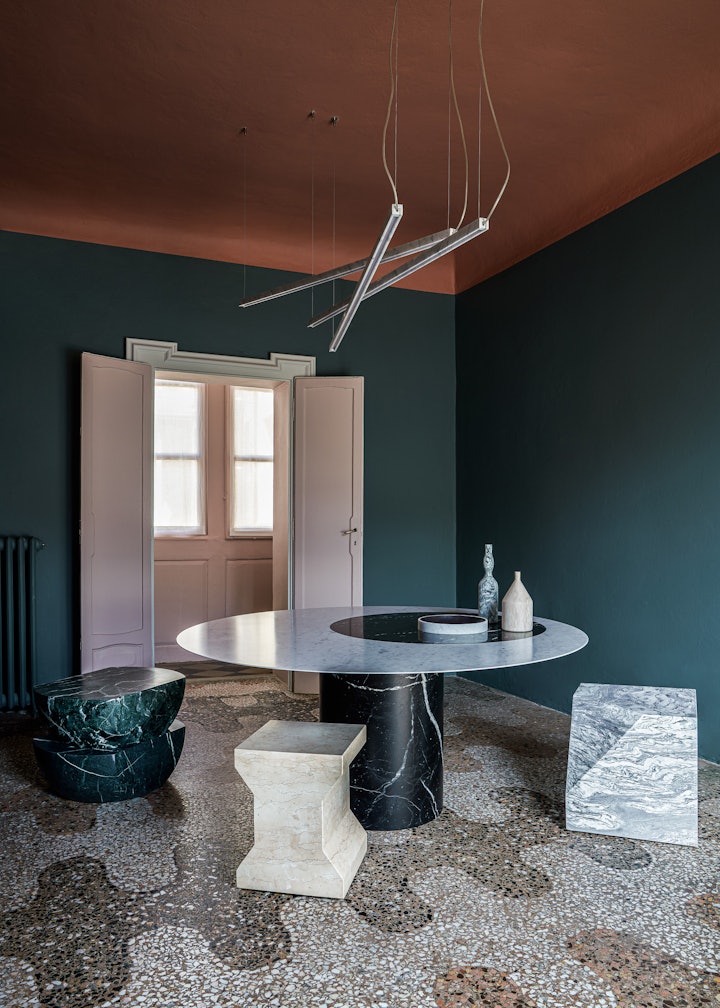
How to paint a room: preparing the room
As we’ve already mentioned, changing the colour of the walls in your home is a quick and inexpensive way to update the style of your abode. Without any obstacles, you’ll have a completely revitalised space.
Although it is an easy method to use, putting it into practice carries risks for the room being renovated. For this reason, it is always necessary to prepare the space as well as possible.
The first thing to do is to remove everything that can be moved from the room, including the furniture.
This will not only protect the objects from the paint, but it will also allow you, and whoever is painting with you, to move more freely and therefore work better. In the case of bulky pieces of furniture that are difficult to remove, the advice is to group them in the centre of the room where possible, and cover them with large waterproof sheets in order to protect them.
Once you’ve thought about clearing the room, it’s time to take care of removing anything from the walls that you don’t want to cover with paint, such as handles or switch covers: removing these components, rather than masking them, will make it much easier to paint accurately.
Anything that cannot be removed should be masked off with masking tape. Marking out the contours of skirting boards and window frames will allow you to paint precisely without worrying about making mistakes and painting where you shouldn’t.
Similarly, the floor must be preserved: cover it with large sheets or cardboard to protect it perfectly.
Once the room and the walls are completely clear, it is time to prepare the walls for painting.
Before proceeding to paint the room, we advise you to arm yourself with putty and cover all the holes or imperfections present: remember to respect the drying time and sand down any defects in the restoration before going over the surface with the paint.
A final important step, before starting to paint the room will be to remove dust from the walls: this operation is essential to prevent the creation of bubbles or imperfections in the new paint.
Now that our interior is ready, let’s find out which painting techniques can be used to achieve a perfect restyle!
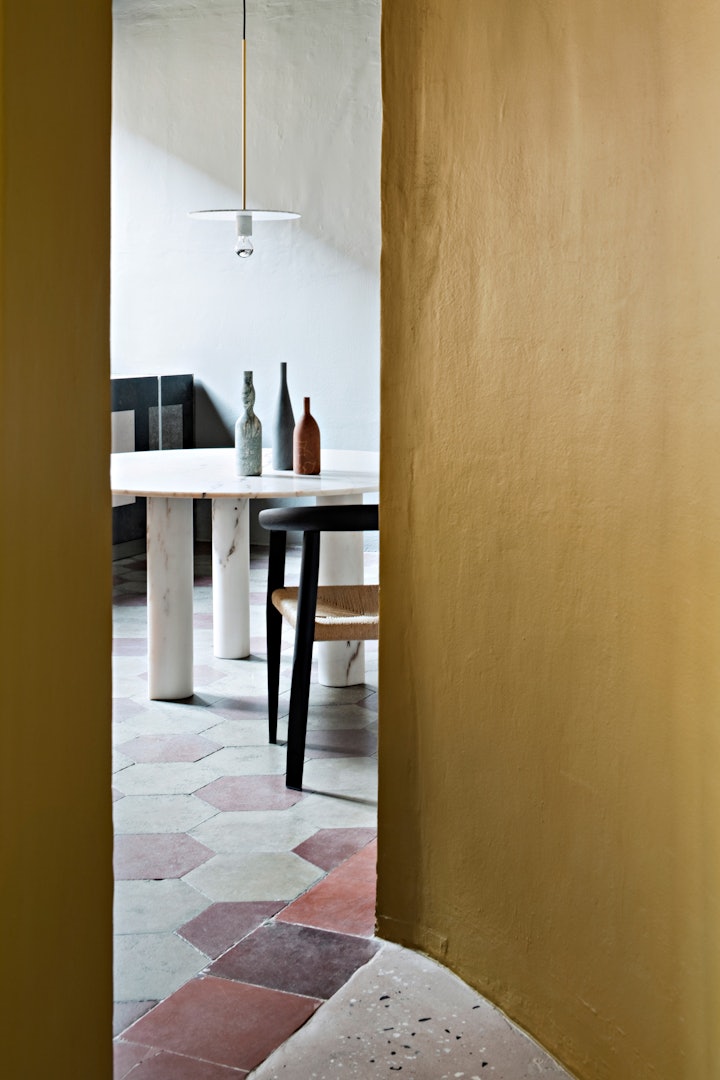
How to paint a room: the technique
Armed with a roller and brush, great for painting the boarders, the time has come to decide how to paint the walls of the room. Depending on the environment in which we find ourselves, painting a room can also help us improve the perception of the entire space.
In the myriad techniques available, we have chosen the 4 most common ones:
- Harmonic painting
- Accent wall
- Painting the ceiling in a different tone
- Striped painting
The first method we are going to analyse is harmonic painting. As we’ve previously mentioned, the aim of this technique is to create a cohesive and synergistic environment with the floor, using a tone on tone effect: the result is a serene and relaxing ambiance.
So this technique, although suitable for all environments, is particularly fitting for when it comes to choosing colours for the walls of the bedroom for example, the true place of rest in the home.
But what if, instead of creating a harmonious environment, our aim is to create a burst of vitality within the room? A perfect technique to infuse a room with energy is to create an accent wall: in the room you are going to paint, one wall will stand out from the others, thanks to the use of a strong contrasting colour or by painting a wall with geometric shapes, which you can easily make yourself with the help of our trusty paper tape.
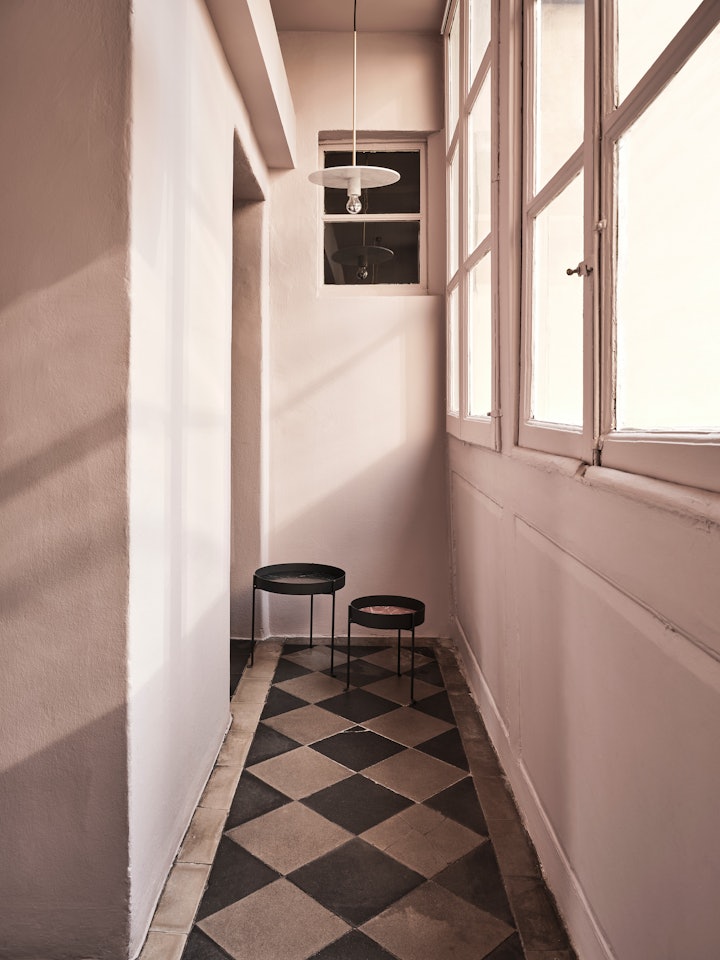
There is also another positive side to using this type of paint: as well as creating energy, creating an accent wall allows the furniture in front of it to be highlighted or framed.
This is another reason why it is an excellent technique for painting the walls of the living room: in this space, one of the most vital and well-kept in the house, a coloured wall with contrasting tones allows you to highlight, for example, a designer item, such as the beautiful Curl chair, or an elegant mirror, such as the precious Quadro Mirror.
However, painting techniques, as mentioned above, can also help us correct the perception of a room’s size.
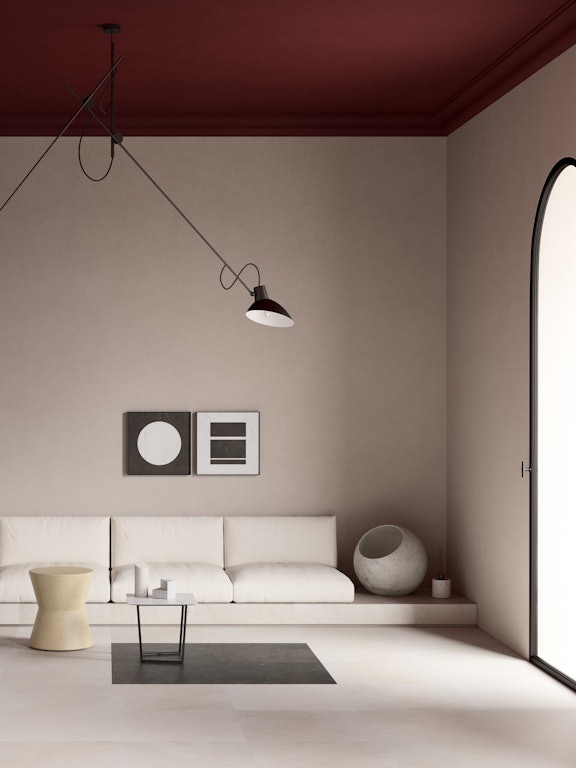
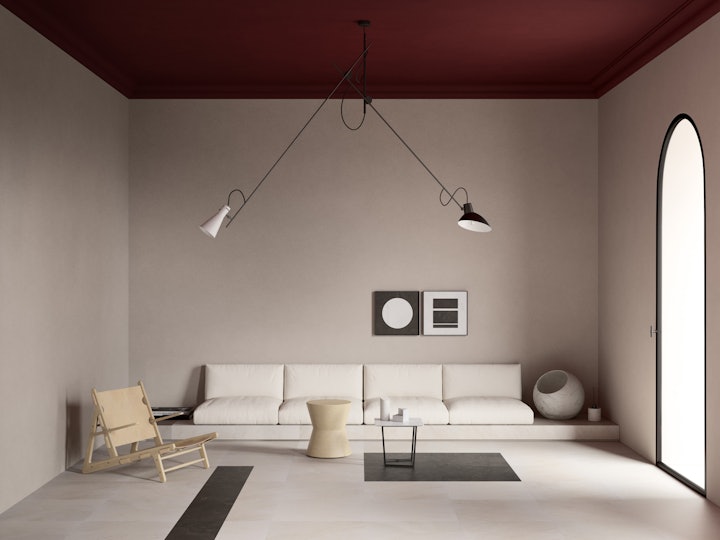
Painting the ceiling in a different colour changes the perception of the height of the room. Is the room too high and dispersive? Painting the ceiling darker than the rest of the walls will make the space appear lower.
On the other hand, a ceiling that is lighter than the colour of the walls allows you to amplify and extend the height: a very convenient trick for rooms with a low height, such as attics.
The use of stripes is also an excellent way of correcting the appearance of the room: if the use of vertical stripes also contributes to increasing the perceived height, horizontal stripes come to our aid when what we want to decorate is a room with smaller dimensions: painting a small corridor with a striped pattern will allow us to obtain a space which appears significantly more expansive visually.
